Here are a few ways you can do this:


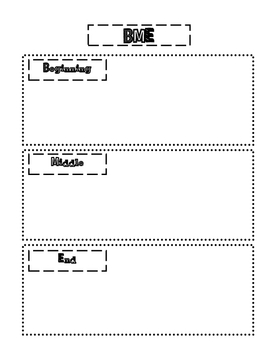
You can have the students fold a page in their notebook to have 3 blocks for beginning, middle, and ending.
Sample Anchor Chart to model Beginning, Middle, and Ending

When the students are ready to pull the ideas from their notebook, I then have them get 3 different colors of construction paper. At the top they write or glue the words beginning, middle, and ending at the top. One heading for each piece of paper. They then, expand their ideas using these three sheets by writing more details. Once the students have their drafts completed they then move to the computer select and save a blank PPT template. The students who are more technologically advanced can create their own template design. They can even design their own pictures using a paint program, upload their own approved photos, or select various clipart too.
When the the PowerPoint stories are complete, the students get a hard copy to take home and enjoy. This project is also a great way for students to present their stories to not just their classmates but to celebrate their writing with parents at a special "Author Share" event to celebrate each child's writing.
Here is a link to my classroom website showing some stories that were created by my students.
https://sites.google.com/a/burltwpsch.org/jestep/home/ppt-stories
No comments:
Post a Comment
Note: Only a member of this blog may post a comment.